Showing posts with label Custom Writing Desk. Show all posts

Monday, April 4, 2011

Custom Writing Desk - (Part 6) - The Completed Desk

With the finishing process now complete the desk can be assembled.

The completed desk is shown as follows:


Front view of desk.


Front corner detail.


Rear view of desk.


(I love this) detail of where the drawer meets apron.


Drawer open, showing dovetails.


Inlaid grommet in desk top.

Custom Writing Desk - (Part 5) - Finishing the Desk

Most woodworkers will tell you that the most tedious part of the furniture making process is the hours of final sanding required to prepare the wood for finishing.

In my mind this stage is actually quite exciting, because it helps me to anticipate more clearly what the finished piece will look like.

In the previous post the solid cherry received multiple coats of a vinegar and iron solution, which is the traditional way of ebonizing wood to a darker colour.


A black toner is then applied to ebonize the darker areas more consistently.


At this stage I am extremely pleased with the decision to add the beading details to the aprons and drawer fronts.

The Macassar Ebony looks incredible!

Next: Custom Writing Desk - (Part 6) - The Completed Desk

Custom Writing Desk - (Part 3) - Finish Sample for Approval

In tandem with sending drawings to the client for approval I always like to make actual finish samples of the wood we intend to use. This helps clear up any misunderstandings that might take place regarding what the finished wood surface is going to look like.

For this particular Writing Desk a bundle of quarter cut Macassar Ebony was selected, and after confirming the yield a portion was cut and glued to a piece of plywood.

After sanding and lacquering the full panel was then cut into smaller squares, with the edges being sanded and slightly bevelled. The backs of the samples are then covered in felt, and a labelled to identify the project, wood species, type of finish, and date.


Two of the samples are then sent to the client, with copies kept as control samples in our shop.

Once we receive client approval on these samples, the woodworking on the desk can begin.

Next: Custom Writing Desk - (Part 4) - The Making of the Desk Begins

Custom Writing Desk - (Part 2) - Scale Drawings

The next step is to take the approved design concept and turn it into a scale drawing, which will give a better idea of what the finished desk will look like.

This drawing can then be submitted to the client for approval.


Once the drawing is approved we can select the appropriate material and make a finish sample for approval.

Next: Custom Writing Desk - (Part 3) - Finish Sample for Approval

Custom Writing Desk - (Part 1) - Conceptualizing the Design


Recently an Internet inquiry came through asking about how to commission a custom writing desk. After some preliminary discussions about various designs including the Kidney Shaped Desk, Rainforest Desk and 1927 Console/Desk it was determined that a customized version of the latter might be most appropriate for the required dimensions of 55" long x 22" deep x 30" high.


Based on this discussion an initial concept was sketched out and emailed to the client. As a starting point this design has curved, tapering legs and a bowed apron with elevated ribs to support a Macassar Ebony top. The fact that the cross ribs are elevated helps creates the visual illusion that the top is floating.

Although I thought the idea was quite interesting and unusual, the client didn't like it. After further discussion the design was revised as follows:


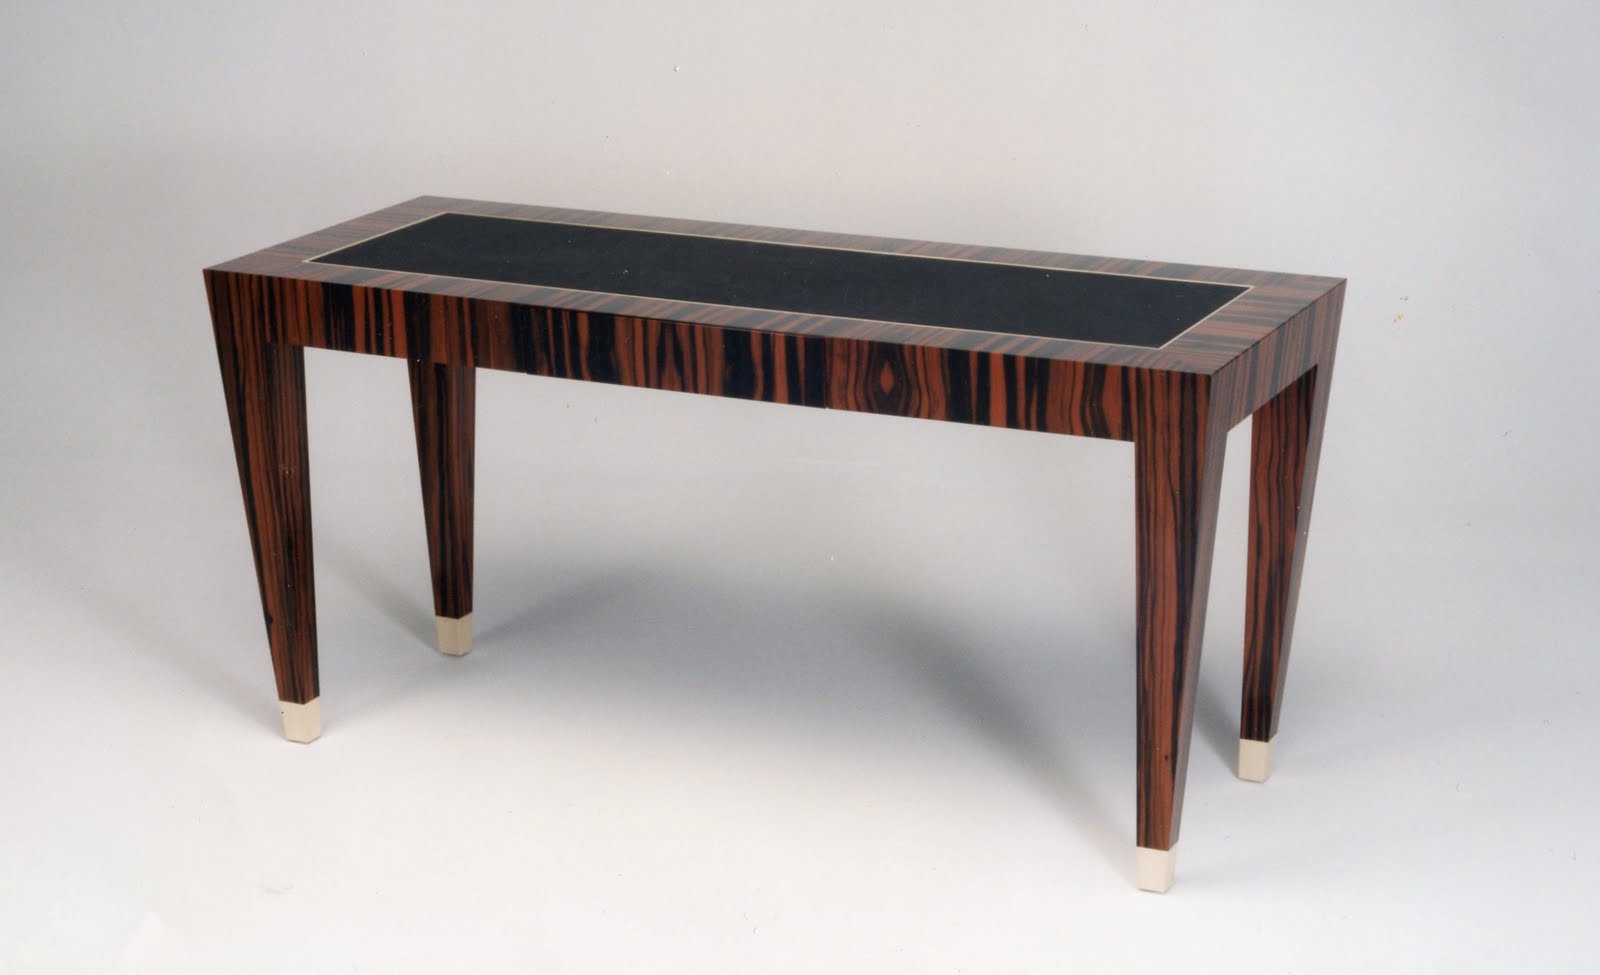
This idea the client loved. At this point we formalized the pricing with a written quotation, and a deposit was made so we could then make the scale drawings required to finalize the concept and work out the details.

Next: Custom Writing Desk - (Part 2) - Scale Drawings